
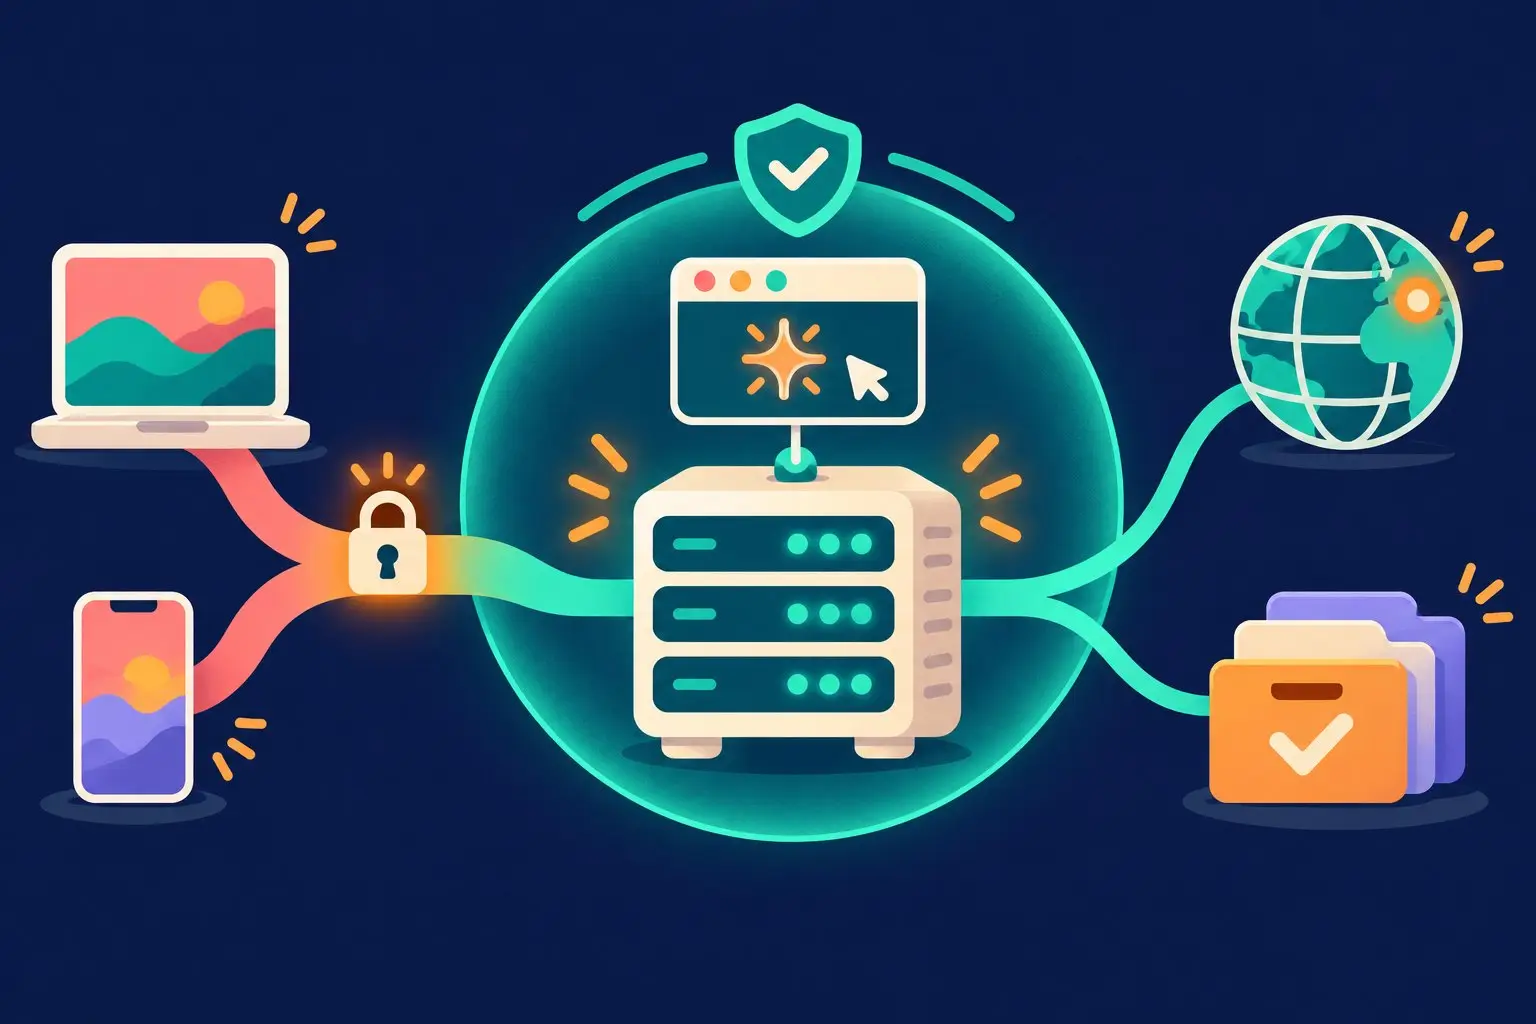
A Claude Code account ban hits everything at once: your subscription, your history and the way you work. A simple setup helps cut down the chaos that can lead to one: run Claude Code on a separate VPS in a country where Anthropic officially operates, rather than on your own laptop. The agent and the project live on the server, your computer only controls it, and your browser goes online through your own VPN, running on the same VPS. Every connection to Claude comes from one address, not from a new country every day.
Many people link bans to a VPN that hands out a new country every time it is switched on, while the laptop moves between home, a coworking space and an airport. Anthropic has not officially published any link between VPNs and bans, so the honest way to put it is this: your own VPS removes the chaos from your connections, but it does not guarantee that the account won’t be banned or that you won’t be asked for documents. One reason for a ban Anthropic does state outright: an account created from a country where Claude isn’t supported.
There is also a benefit that makes a VPS worth setting up even if you have no access problems: the agent keeps working when the laptop lid is closed, and a long task doesn’t break off because of sleep mode or a change of Wi-Fi.
Can you use Claude Code in Russia
Officially, no. Russia and Belarus are not on the list of supported regions, while Thailand and most European countries are. A server abroad does not change where you physically are: Anthropic’s rules do not allow using Claude from an unsupported country, with or without a VPS.
So the setup below is not a way to “get around a Claude block”. It is a way to bring order where Claude can work: for people who live in a supported country, travel a lot or get tangled up in VPNs. If you are in Russia, the risk remains yours, and no configuration removes it.
What you’ll need
- A VPS in a country on Anthropic’s list: for example, Germany, the Netherlands, Finland or Poland.
- A Claude subscription. To control a session from a browser or phone (Remote Control) you need a Pro, Max, Ultra, Team or Enterprise plan — the feature doesn’t work with an API key.
- The WireGuard app on your computer and phone.
- Key-based SSH access to the server. If you have never connected to a server before, first see how it works in the guide to installing Hermes Agent on a VPS: the first steps are the same.
Step 1. Choose a VPS for Claude Code
According to the system requirements, Claude Code needs Linux such as Ubuntu 20.04 or newer and at least 4 GB of RAM. Four gigabytes is the minimum: the agent runs, but building a project alongside it is already tight. For one live project, 2 cores and 8 GB are more comfortable; for several projects and heavy builds, more.
The server’s country must be on the supported list and must not change. Moving the server from country to country is exactly the chaos this setup is meant to get away from.
The easiest way to start is with a provider that has a ready-made VPN template. Hostinger, for example, has a WireGuard template on Ubuntu 24.04 with the wg-easy web panel: the VPN comes up when the system is installed, with no manual configuration. The rest of this guide follows that option.
Another provider will do too, but then you’ll have to install the VPN yourself, and step 3 will look different. Prices change often, so check them when you buy. If you pay a year or two in advance, the monthly price usually works out noticeably cheaper.
One warning: choosing a template reinstalls the system. Don’t do this on a server where projects are already running — take a separate VPS for Claude Code.
Step 2. Install Claude Code under a separate user
Connect to the server and create an ordinary user. The agent doesn’t need root privileges, and without them a mistaken command can’t break the whole system. This isn’t full isolation: the user can still damage or expose their own files and keys, so you still need the backups from step 7.
ssh root@SERVER_IP
apt update
apt install -y curl git tmux ca-certificates
adduser coder
Copy your SSH key to the new user so you can log in as them without a password:
install -d -m 700 -o coder -g coder /home/coder/.ssh
install -m 600 -o coder -g coder /root/.ssh/authorized_keys /home/coder/.ssh/authorized_keys
Open a second terminal window and log in as coder. Don’t close the first window with root yet: if the login fails, you can fix everything through it.
ssh coder@SERVER_IP
curl -fsSL https://claude.ai/install.sh | bash
claude --version
The installer puts the program in ~/.local/bin/claude. If the claude command isn’t found, that folder isn’t in your PATH — add it and reload your settings:
echo 'export PATH="$HOME/.local/bin:$PATH"' >> ~/.bashrc
source ~/.bashrc
Next, it’s worth disabling password login: bots start brute-forcing any new server within its first few hours. First make sure that key login really works and hasn’t quietly fallen back to a password. From your computer:
ssh -o PreferredAuthentications=publickey coder@SERVER_IPIf you got in without being asked for a password, the key works. Then, in the root window:
printf "PasswordAuthentication no\nKbdInteractiveAuthentication no\n" > /etc/ssh/sshd_config.d/10-no-password.conf
sshd -t && systemctl reload ssh
sshd -T | grep -Ei "^(passwordauthentication|kbdinteractiveauthentication)"
The last command should show no on both lines. If it shows yes, another file in /etc/ssh/sshd_config.d/ is overriding the setting — find it and fix it. Don’t close the root window until you have logged in again with a fresh key-based connection. As a last resort, keep the server’s web console in your provider’s control panel to hand: it lets you in even when SSH is closed.
Don’t sign in to your Claude account just yet. VPN first — so that the very first sign-in comes from the server’s address.
Step 3. Set up your own VPN for Claude on the same server
If you installed the WireGuard template, the wg-easy panel is already running. In the VPS control panel click Manage App, log in as admin with the password you set when installing the system, click + New Client and give the client a clear name — for example, “laptop”. Then download the .conf file and import it into the WireGuard app, or scan the QR code with your phone.
One client per device. That way you can disconnect a lost phone without touching the laptop. The .conf file contains a private key: don’t send it in chats and don’t put it in a repository.
Check your address
Turn on the VPN, open ifconfig.me in your browser and run this in your computer’s terminal:
curl -4 https://ifconfig.me
curl -6 https://ifconfig.me
In PowerShell on Windows, type curl.exe instead of curl: in Windows PowerShell 5.1, which ships by default with Windows 10 and 11, curl is an alias for Invoke-WebRequest.
The IPv4 address should match the VPS address. For IPv6 there are two normal results: the server’s address or an error (meaning IPv6 simply doesn’t go through the tunnel). There is only one bad result: the address of your home or mobile provider, which means some traffic is bypassing the VPN. In that case, check that the AllowedIPs line in the client file reads 0.0.0.0/0, ::/0, or disable IPv6 on the device.
If WireGuard won’t connect
Some networks block plain WireGuard — this is especially common with Russian providers. The fallback is AmneziaVPN: the app installs the VPN on your server itself, in Self-hosted mode, with the AmneziaWG protocol. Before installing, take a snapshot of the server in your provider’s control panel so you have something to roll back to if it goes wrong.
Step 4. Sign in to Claude Code on the server
Create a project folder and start the agent:
mkdir -p ~/project
cd ~/project
claude
Open the sign-in link in a browser with the VPN on. If the sign-in prompt doesn’t appear, type /login in Claude Code, and once you’ve signed in successfully, /exit.
Remote Control: control it from a browser and phone
Remote Control keeps the session running on the server, while you open it at claude.ai/code or in the Claude app for iOS and Android. The browser is just a window here: the code, files and commands stay on the VPS.
Start the session inside tmux so it keeps running after you close the terminal. The -c flag opens it straight in the project folder:
tmux new -s claude -c ~/project
claude remote-control --name "My VPS"
To detach from tmux without stopping the agent, press Ctrl+B, then D. To come back, run tmux attach -t claude. There’s no need to repeat tmux new: it creates a new session, and an existing one is opened only with attach.
A few details people trip over:
- Remote Control runs on the server, not on the laptop. Otherwise the work will again come from your home address.
- If the process stops or the server reboots, the session goes offline. After a reboot the
tmuxsession is gone — run the same two commands again. If less than about four hours have passed since it stopped,claude remote-controlin the same folder brings back your previous conversations; with the--continueflag, only the one the server started with. After that, a new conversation begins. If the server loses its network for about ten minutes, the process exits on its own and needs starting again too. The details are in the Remote Control documentation. - On Team and Enterprise plans, the organisation owner has to enable the feature first.
VS Code via Remote - SSH
If you prefer an editor, install the Remote - SSH extension, connect to coder@SERVER_IP and open the /home/coder/project folder. Install the Claude Code extension in the remote environment — the Install in SSH button — otherwise it will run on your computer. Don’t count on the extension panel carrying on after you close the editor. If a task needs to keep going after you’ve closed VS Code, run claude in the integrated terminal inside tmux, not in the panel.
Check where the work is happening
Ask the agent to run hostname, whoami and pwd. The correct answer is the server’s name, coder and /home/coder/project. To be sure, ask it to create a file called connection-check.txt, then check it yourself from the server:
cat ~/project/connection-check.txtIf the file appeared on your computer rather than on the VPS, the agent is working in the wrong place.
Step 5. One sign-in routine on every device
The routine is always the same: turn on the VPN, then open claude.ai or the server session, then work. It breaks down over small things: after a change of Wi-Fi, when the laptop wakes from sleep, when you sign in to the account again. At those moments, check that the VPN is on.
Turn on blocking for traffic outside the VPN, but understand what it protects against. In WireGuard for Windows this is the Block untunneled traffic (kill-switch) checkbox in the tunnel settings: while the tunnel is on, traffic won’t go around it, even if the server disappears. Turn the tunnel off by hand and the block goes with it, and the browser will connect directly. Android has built-in “Always-on VPN” and “Block connections without VPN” options in its network settings. The check is simple: turn on the tunnel, stop the VPN on the server side or disconnect the client in the panel — websites should stop opening, not open from your home address.
A phone and a second computer are set up separately, each with its own client from step 3.
The work account is yours alone. Colleagues need their own accounts or a team plan, not your password and not access to your session.
Step 6. Sort out payment and identity verification
The server won’t sort out payments for you. You need a working, permanent payment method, access to the account’s email and saved receipts: if a payment fails or a support email goes to an inbox you can’t get into, no VPS will help.
If Claude asks you to verify your identity, the check is run by Anthropic’s partner, Persona, and the request comes in Claude’s own interface. According to Anthropic’s help article, you need an original photo ID — a passport, driving licence or national identity card — and a phone with a camera for a live selfie. Copies, screenshots and digital documents are not accepted.
Don’t buy ready-made or “verified” Claude accounts, and don’t send documents to middlemen who promise to pass verification for you. Popular advice such as “warming up” an account or never using up your whole limit has no official backing.
Step 7. Save your work in advance
Backups are made before a ban, not after. These should live separately from your Claude account:
- code — in a git repository and in a copy outside this VPS;
- instructions for the agent —
CLAUDE.mdorAGENTS.md, skills, process descriptions; - Claude Code session history — it is stored on the server in
~/.claude/projects/.
By default, history is deleted after 30 days. The period is set by the cleanupPeriodDays parameter in ~/.claude/settings.json. If the file doesn’t exist, create it with this content; if it does, add one line to the existing settings without wiping them. Don’t forget the comma after the previous field, or the file won’t parse:
{
  "cleanupPeriodDays": 365
}
A long retention period is not a substitute for a backup: the logs still live only on this server. Also remember that everything that went into a conversation is kept there longer, including passwords and keys pasted by accident.
The log archive is created on the server with a single command. umask 077 makes the file accessible only to you, and the time in the name stops an evening archive from overwriting the morning one:
umask 077
tar czf ~/claude-history-$(date +%F-%H%M).tar.gz -C ~ .claude/projects
Download it to your machine — run this command in your computer’s terminal, not on the server — and check that the archive can be read:
scp coder@SERVER_IP:~/claude-history-*.tar.gz .
tar -tzf claude-history-2026-11-06-2130.tar.gz
In the second command, substitute the name of your own archive. If a list of files scrolls past instead of an error, the archive is intact. Both commands also work in PowerShell on Windows 10 and 11.
The archive contains conversation logs, and those contain chunks of the project files the agent read. Never publish it. Save instructions, settings from ~/.claude/ and any attachments you need separately: they don’t go into this archive.
Conversations from claude.ai are exported separately: Settings, the Privacy section, the Export data button. The link arrives by email and is valid for 24 hours. The export description doesn’t mention Claude Code, so save the history of your server sessions yourself, using the archive above. The export doesn’t load automatically into another account — it’s an archive for you, not a transfer. Your claude.ai conversations can usually be exported even after a ban, by signing in to the banned account. That won’t bring back the server history of Claude Code, though.
Keep API keys, login files and VPN configurations separate from the repository, especially a public one.
Claude account banned: what to do
First make sure it really is a ban. A limit, an outage and a ban look similar but are dealt with differently.
| What you see | What to do |
|---|---|
| A message about a five-hour or weekly limit | This is a usage cap, not a ban. The reset time is in the Usage section |
| A connection error, the service is unavailable, Remote Control dropped | Check the VPN, access to the server and the Claude status page |
| A request for documents | Go through the official verification in Claude’s interface, and only that |
| The account is suspended or banned | Appeal via claude.ai/restricted while signed in to the banned account. A new VPS won’t bring the account back |
If your limits run out too quickly, the problem is more often how much context the task eats up — see the breakdown in the token-saving checklist.
Plan B: another model in the same shell
Claude Code can work with other companies’ models through a compatible API address. DeepSeek has a ready-made guide: the ANTHROPIC_BASE_URL variable is set to https://api.deepseek.com/anthropic, ANTHROPIC_AUTH_TOKEN holds your DeepSeek key, and the model names should be taken from the same page, since they change. GPT can be plugged in a similar way, through a proxy — this is covered in the article on replacing Claude with GPT in Claude Code.
Test this kind of setup on a copy of the project, not on the live one. And remember: Remote Control doesn’t work through a third-party API address, so you won’t be able to control the session from your phone in this mode.
You can realistically put the whole setup together in one evening: the server, the coder user, the VPN, the IP check, sign-in, Remote Control and the first history archive. After that it needs maintenance — updating the server, checking your IP now and then after a network change, and regularly pulling the archives down to your machine.